Groups Managing OSiRIS Groups
In the following page we’ll describe how unix groups work in OSiRIS, what the default group memberships are, and how to create new groups.
These instructions apply only to Unix/Posix style access to OSiRIS storage (not S3). They may be relevant if you are using Globus, ssh/sftp/scp, or NFSv4 mounts.
If you are using Globus shares to provide access to other collaborators outside OSiRIS then they only apply so far as your own group memberships and file access. Globus shares act as the user that created them. You may not need to do anything with these permissions if you are using only Globus shares to manage permissions and access.
Default Groups
In OSiRIS everybody is a member of virtual organizations known as “COU” (COmanage Organizational Unit).
When you are initially approved for enrollment into an OSiRIS COU you are automatically made a member of a special group:
CO_COU_YourCouName_members_active
By default this group will have Read-only privileges to your OSiRIS storage and any new folders you create under your OSiRIS storage.
Additionally, if you are marked as a ‘COU Admin’ you will also be a member of another special group:
CO_COU_YourCouName_admins
By default this group will have Read-write privileges to your OSiRIS storage and new folders you create.
Generally during initial discussions about using OSiRIS you would designate one or more people to be admins for your group and we would put them into the appropriate group. Once you have at least 1 admin that person can mark additional people as admins.
You are not limited to these two groups. They are intended as reasonable defaults.
It may be helpful to see the permissions from a unix command line perspective.
[user@um-xfer01 ~]$ ls -l /osiris
drwxrws--- 1 root     CO_COU_TestCOU_admins               1 Mar 26 15:50 testcou
As you can see, the directory setup for ‘TestCOU’ has rwx permissions for the CO_COU_TestCOU_admins group. It is set ‘sticky’ so new folders retain those permissions and ownership.
[user@um-xfer01 ~]$ mkdir /osiris/testcou/testdir

[user@um-xfer01 ~]$ ls -l /osiris/testcou
drwxrws--- 1 user CO_COU_TestCOU_admins 0 Mar 26 15:50 testdir
We use posix ACLs to allow COU members RO permissions, and you can also use them yourself to assign more granular permissions to folders/files.
[user@um-xfer01 ~]$ getfacl /osiris/testcou/

... cut ...

default:group:CO_COU_TestCOU_members_active:r-x
Whether you access your CephFS directory via Globus, scp, or NFS these permissions are in effect. When you create a Globus share you are responsible for permissions on that share - it has the same effective permissions that you have.
Managing groups
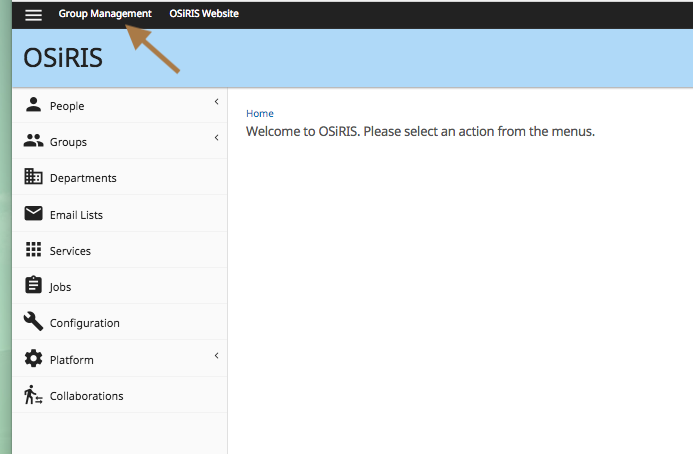
OSiRIS uses a tool called Grouper to manage groups. You can access grouper at https://comanage.osris.org/grouper or via this link in the main COmanage interface:
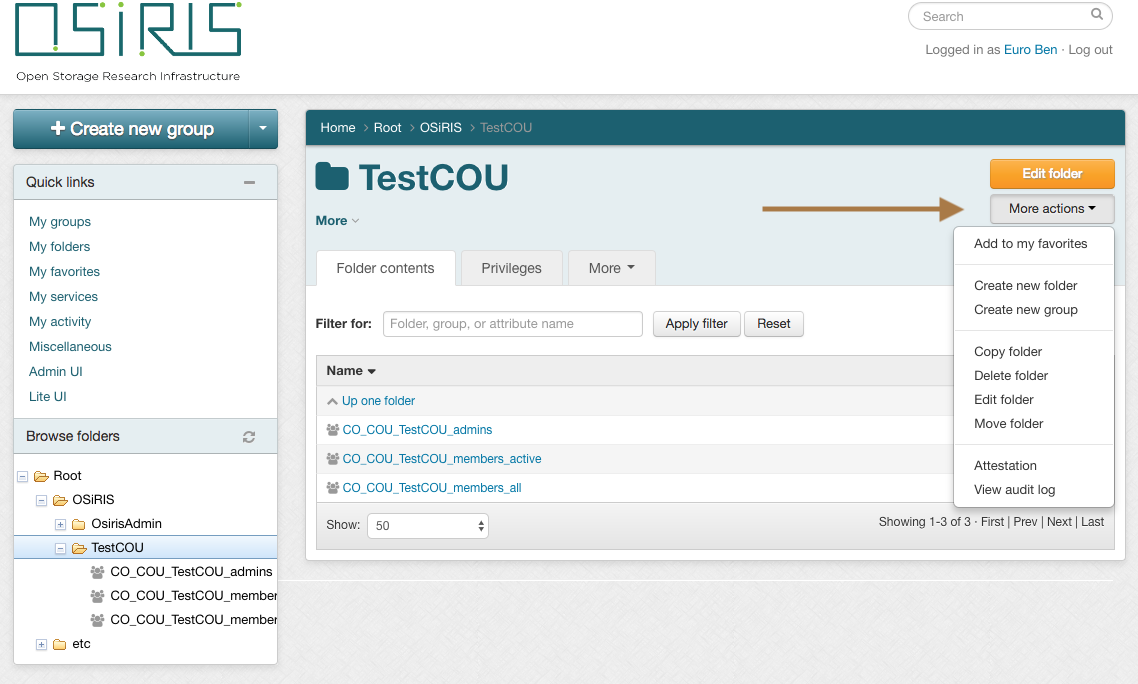
In the ‘tree’ at left you will see the default groups noted above. Do not attempt to edit these groups.
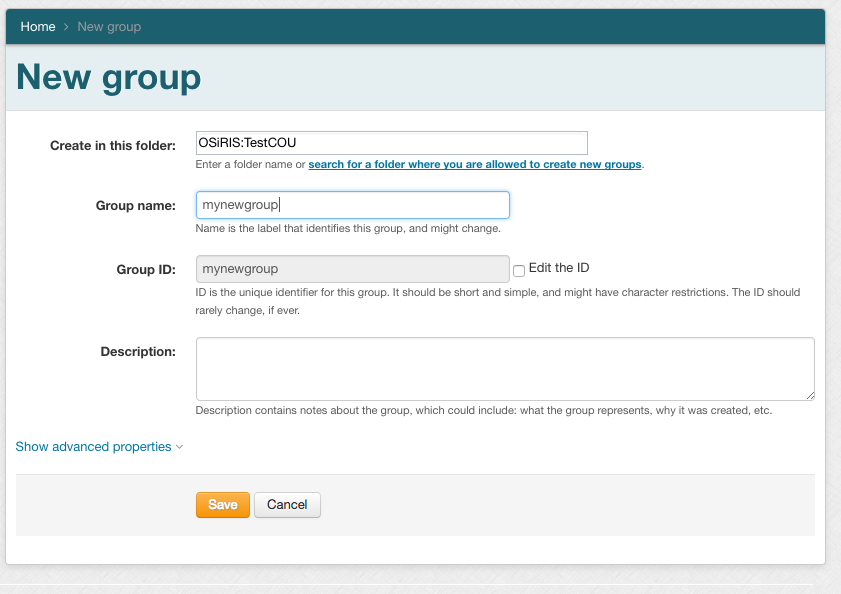
If you are a COU admin you can create new groups:
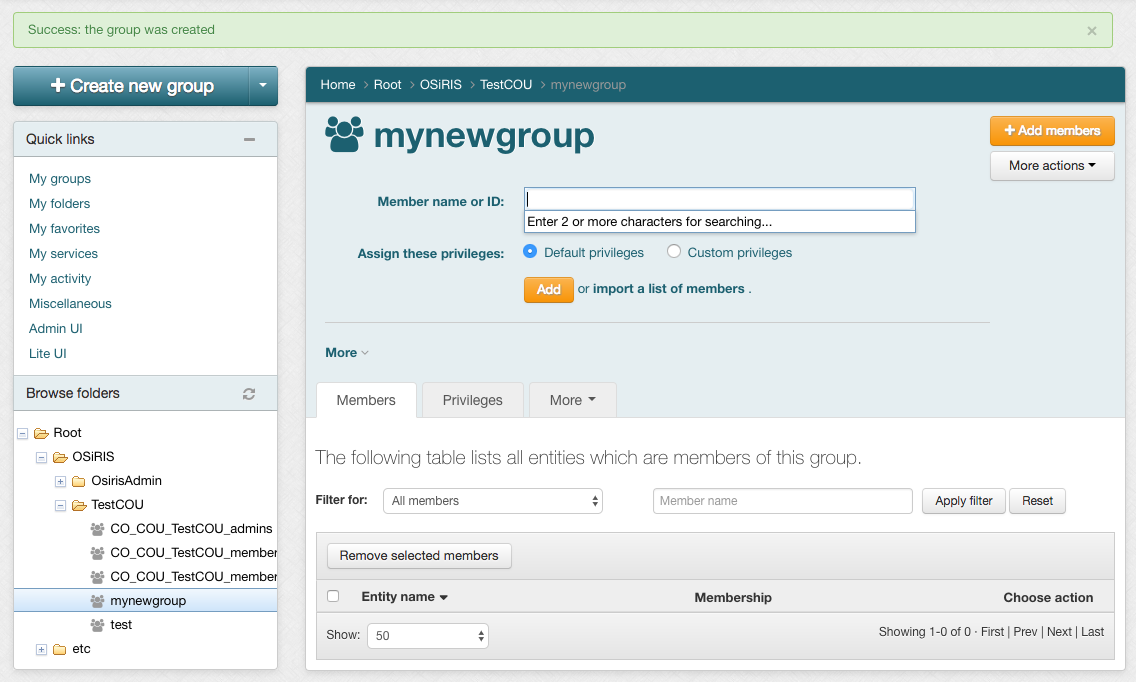
After creating a group you need to click the ‘refresh’ icon so it shows up in the group tree:

You can then add other OSiRIS members to your group. This generally would be people who are also enrolled in the same OSiRIS COU but you do have the option to add people in OSiRIS from outside your virtual organization or other CO_COU groups representing other virtual organizations. Just start typing and suggested matches will show up in a dropdown list.
Once you have created a group in Grouper you can use it in shell commands. For example, you could create a folder and make ‘mynewgroup’ the owner so that anyone you put in ‘mynewgroup’ could write in that folder.
    cd /osiris/testcou
    mkdir newfolder
    chgrp mynewgroup myfolder
    chmod g+rwx myfolder

    ls -l

    drwxrws--- 1 user mynewgroup 0 Mar 26 15:50 myfolder
Inside a shell use the unix ‘id’ command to see what groups you are in. They will match what you see in the Grouper GUI.
[user@um-xfer01 testcou]$ id

uid=99999(user) gid=99999(user) groups=99999(user),123456(CO_COU_TestCOU_admins),1234567(CO_COU_TestCOU_members_active),12345678(CO_COU_TestCOU_members_all)
Grouper is an open source project managed by Internet2. More information: https://www.internet2.edu/products-services/trust-identity/grouper